
You Will Need:
1 bath towel
1 wash cloth to match
Straight Pins
Marking Pen
Straight Pins
Marking Pen
Sewing machine
Edging
Scissors
Directions:


8. Sew a straight stitch directly on the marked lines.


11. Now fold out the seam allowances and zig zag them down. Again, the zig zag stitching will hardly show at all.


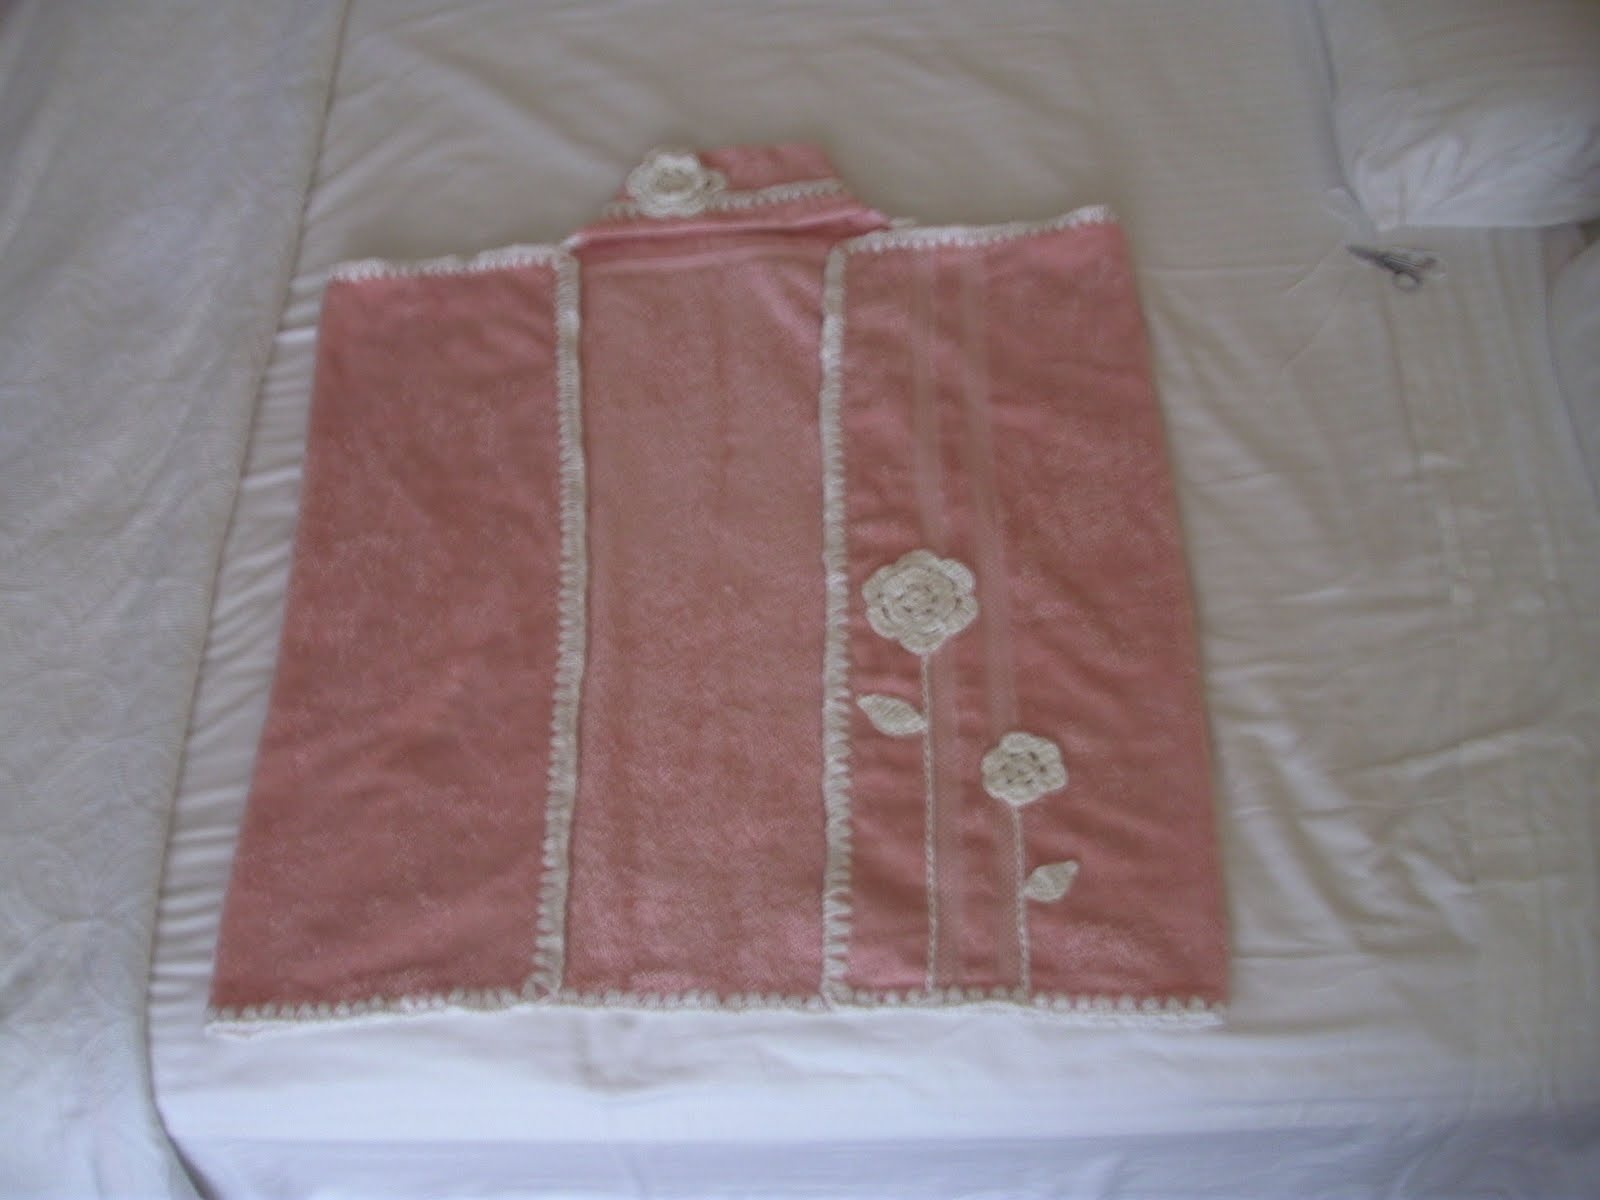
15. Your hooded towel is now complete. Add decoration like the ones below if desired.


1. Lay out your towel horizontally. Lay your washcloth in the middle of the upper edge of the towel. Mark where the washcloth and towel meet with a disappearing-ink marking pen, or with pins.

2. Sew on edging by beginning at one of the marks you made in step one and sewing the edging around the towel, stopping at the other mark. You will have an un-edged space the width of your wash cloth on the upper edge of your towel. Like my mommy before me, I crocheted the edging on my towel using white cotton yarn. Other possible edgings include ric rac, ribbon, bias tape, etc.

3. Sew edging onto your washcloth as shown. Sew edging on about one inch of side, across the top and about 1 " down the other side. If your wash cloth comes with a line, use that as a guide (see picts).
My washcloth doesn't look square in this picture, but it is!
4. If your washcloth has a thick hem on the bottom, like mine did, cut it off.
5. With a zig zag stitch, sew the bottom of your washcloth to the top part of your towel right in the gap of the edging, with about 1/2" overlapping. You will notice that on terry cloth, the zig zag stitching doesn't really show, although the terry loops will be flattened a bit.
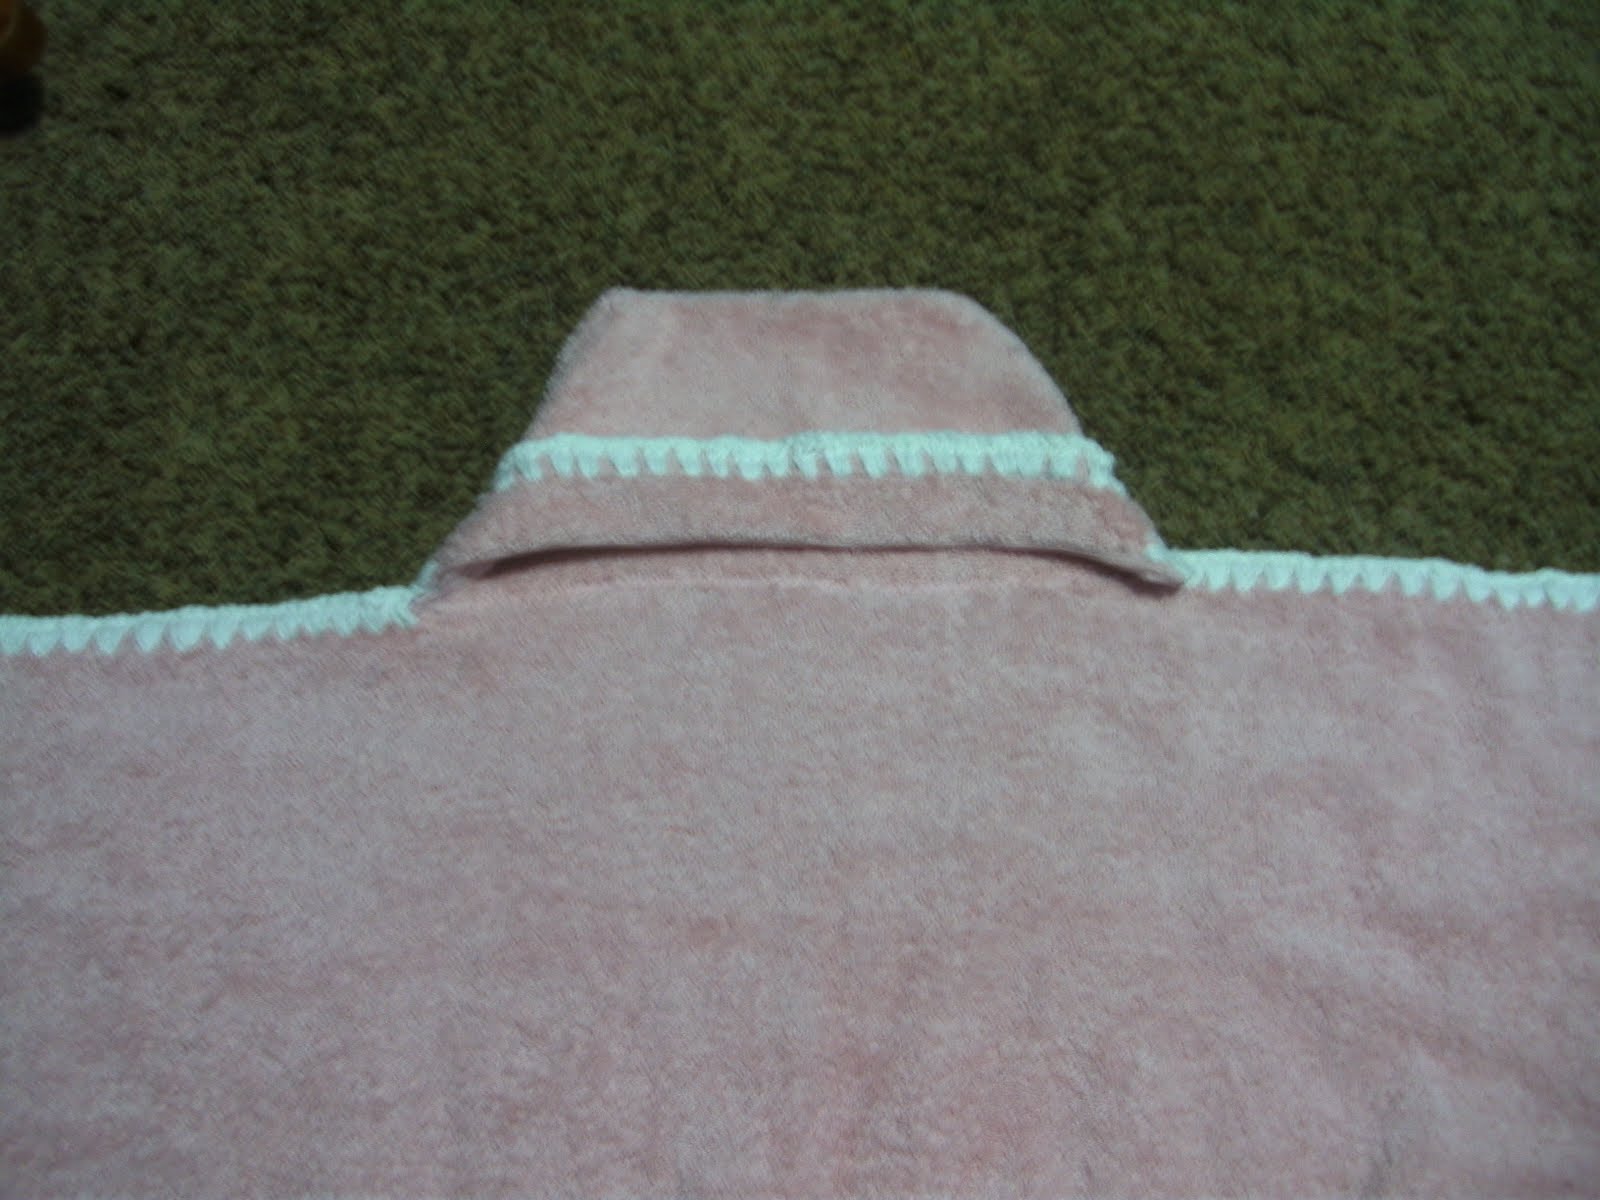
6. Now fold the washcloth so that the ends of the wash cloth edging meet the ends of the towel edging. See picture. Pin in place, but do NOT sew.

7. With your washable marking pen, draw a line starting at the top of the wash cloth, about 2 inches in from the edge, and going diagonally down to where the wash cloth edging starts. Repeat on the other side of the wash cloth. See the picture.

8. Sew a straight stitch directly on the marked lines.

9. With scissors, cut one half inch in from your sewn line, removing the upper corners of the washcloth as shown.


10. On the left side of the picture below, notice the scissors taking a little snip from the cut edge of the wash cloth hood almost to the sewing. You will need to do this on both sides of your washcloth hood in order to do the next step.

11. Now fold out the seam allowances and zig zag them down. Again, the zig zag stitching will hardly show at all.

12. Once you have the seam allowances on both sides of the hood zig zagged down, you can now turn your towel right side out.

13. Next, turn the edged part of the hood up as shown.

14. Using thread that matches the color of your edging, zig zag your edging to the hood.
15. Your hooded towel is now complete. Add decoration like the ones below if desired.

16. This step is optional. Decorate your hooded towel with crocheted double flowers, crocheted single flowers, embroidered stems (I embroidered with the chain stitch because I think it looks good with crochet), and crocheted leaves.

On the hood, I sewed a crocheted single flower to a crocheted double flower.

For a boy's towel consider crocheting white or blue disks of three different sizes and sewing them to one bottom corner of the towel for bubbles. You can also cut a sail boat, frog, or other shapes out of different colored terry cloth and zig zag stitch them on to your towel.
She still loves those towels :)
ReplyDelete